

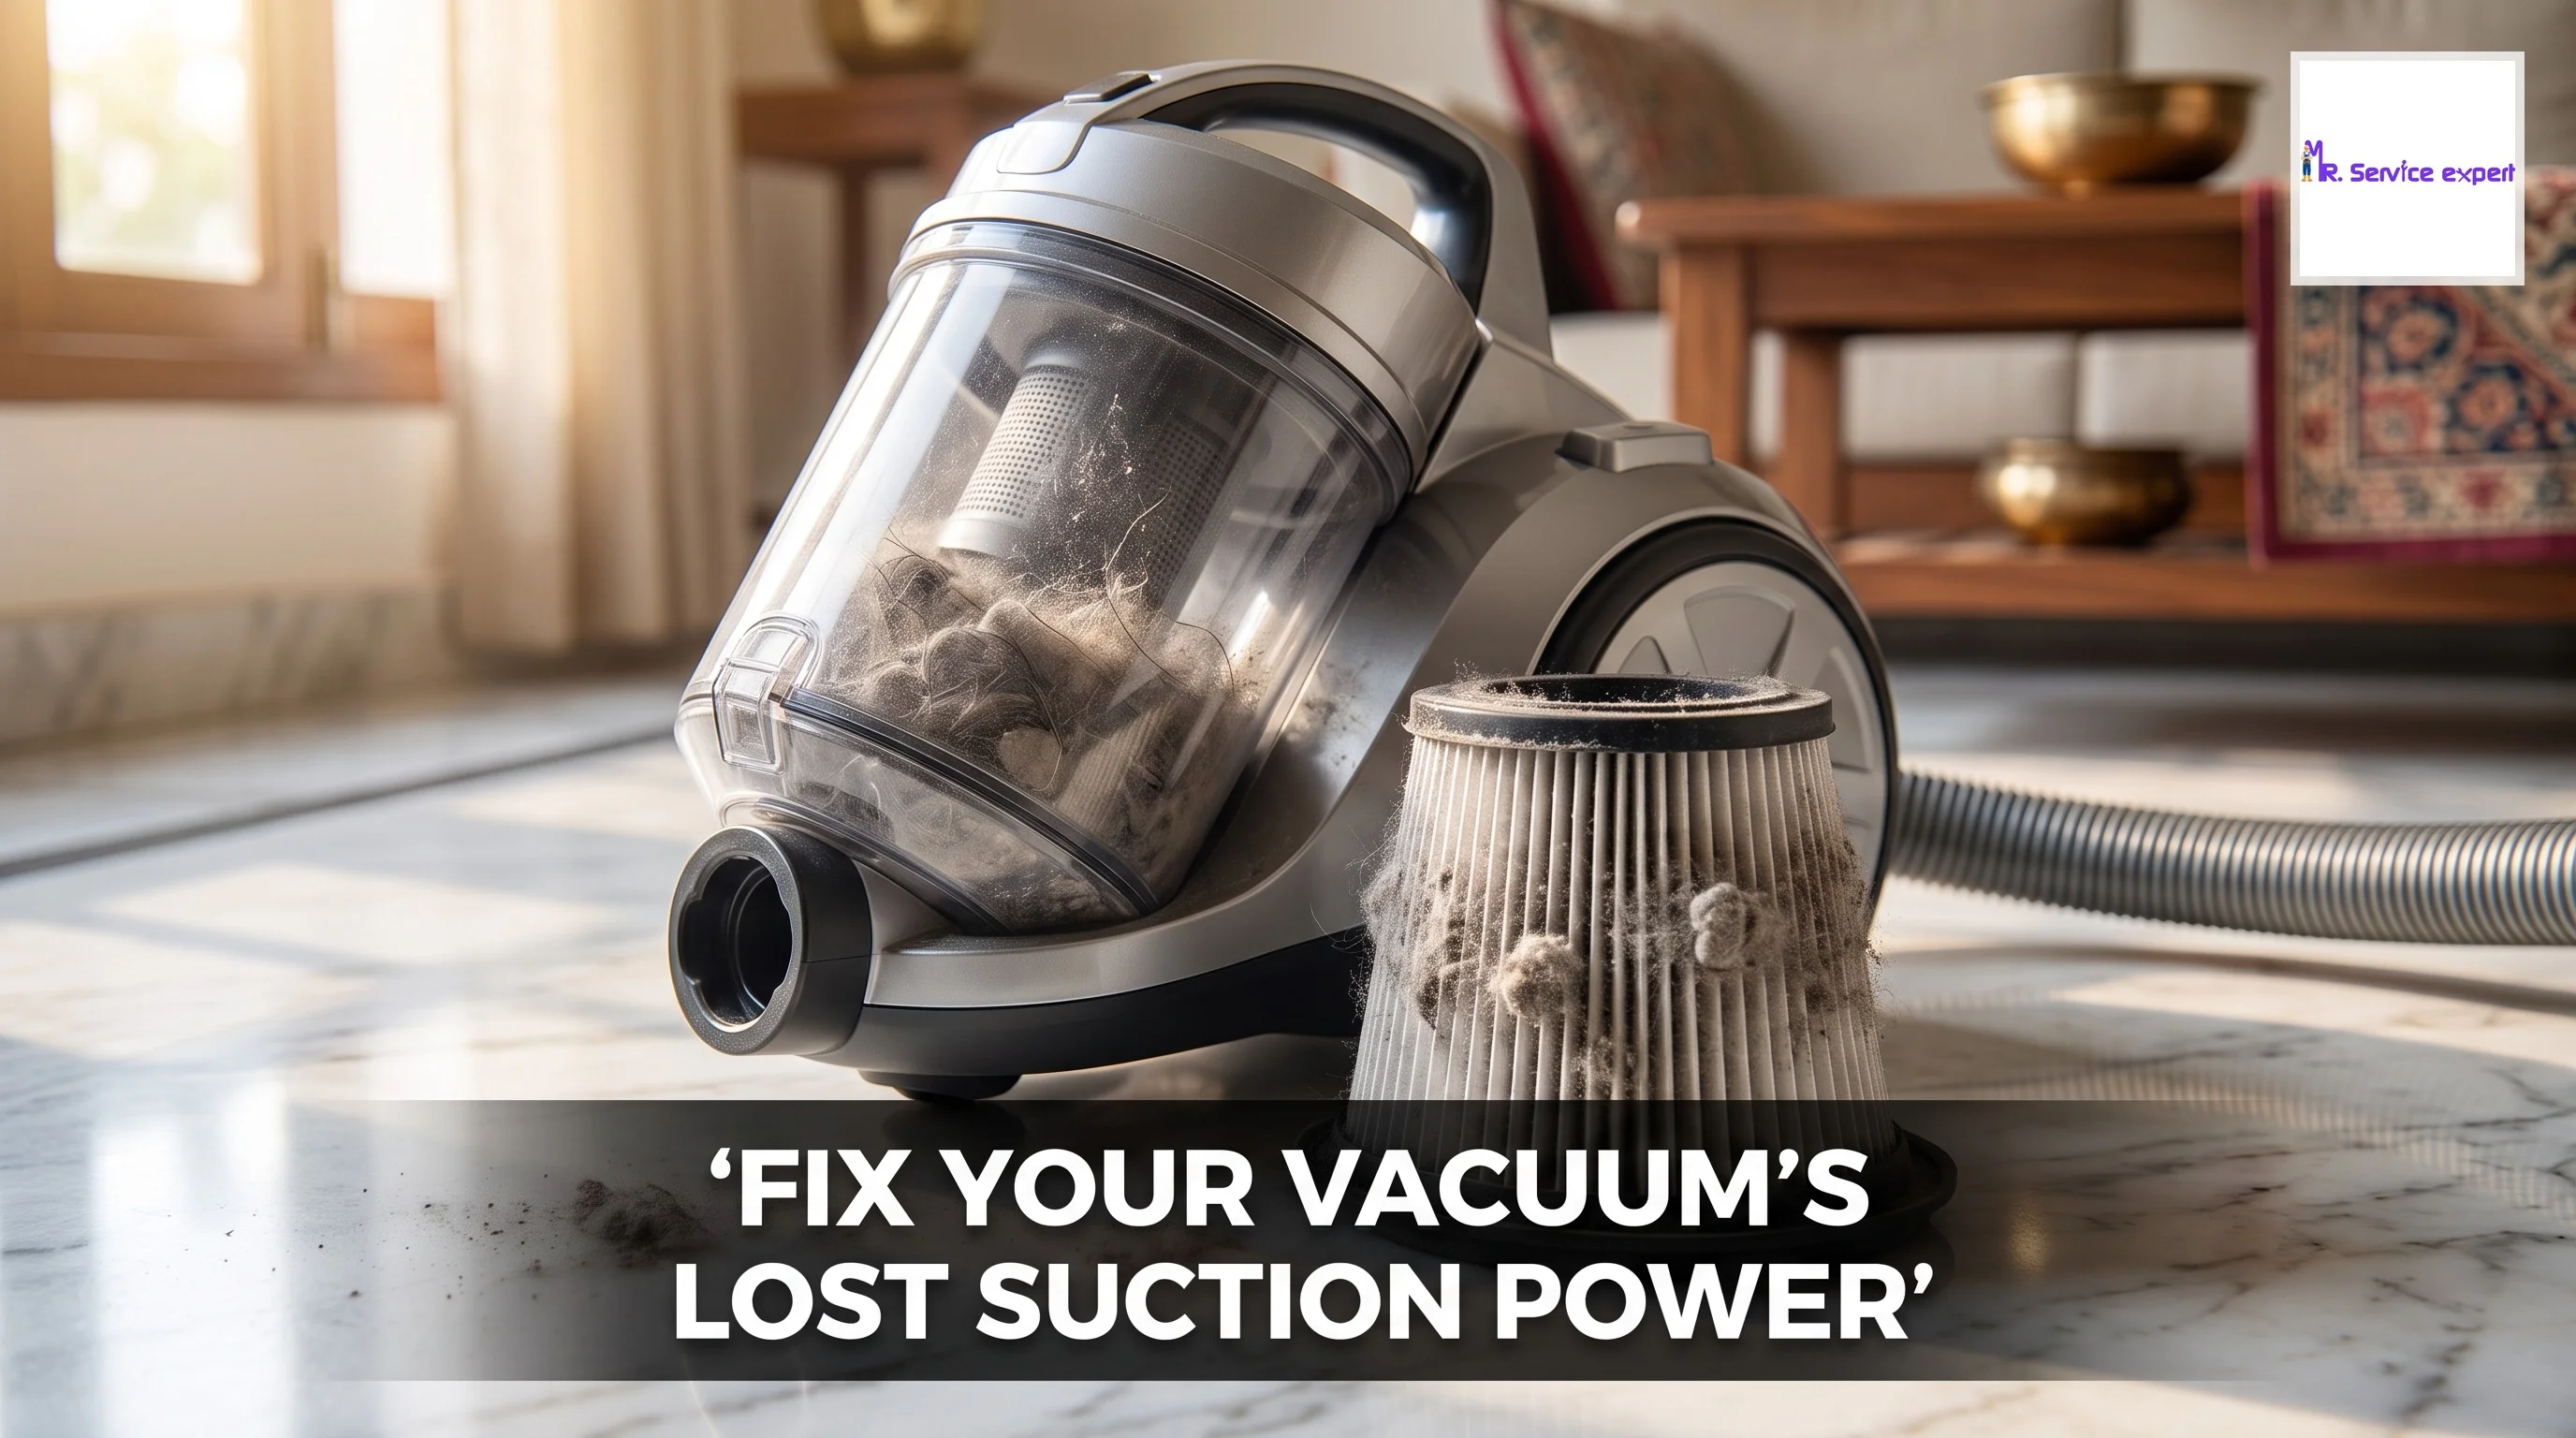
Why Your Vacuum Cleaner Losing Suction Is More Than Just a Minor Annoyance
Picture this: you're halfway through your Saturday cleaning session when you notice something's off. Your trusty vacuum cleaner that once picked up every speck of dust now seems to be pushing dirt around rather than sucking it up. Sound familiar? If your vacuum cleaner losing suction has become a frustrating reality, you're not alone. Thousands of Indian households face this issue every single day, and the good news is that most suction problems have simple solutions that don't require expensive professional intervention.
The truth is, a vacuum cleaner not working at full capacity doesn't always mean it's time to buy a new one. In fact, understanding why your appliance is underperforming can save you thousands of rupees and extend its lifespan by several years. Whether you're using an upright, canister, or handheld model, loss of suction follows similar patterns and responds to similar fixes. The key is knowing what to look for and how to protect your appliances from premature wear and tear.
Most people assume that when their vacuum starts losing power, it must be a complex mechanical failure requiring professional Vacuum cleaner repair. However, statistics show that approximately 75 percent of suction-related issues stem from simple blockages, full dust containers, or dirty filters. These are problems you can diagnose and fix yourself within 20 to 30 minutes, without any special tools or technical expertise.
Think about how much you rely on your vacuum to maintain a clean, healthy home environment. In Indian cities like Mumbai, Delhi, Bangalore, and Pune where dust levels can be significantly high, a properly functioning vacuum isn't just convenient, it's essential for respiratory health and overall hygiene. When that suction power drops, you're not just dealing with dirty floors, you're compromising the air quality in your home and making cleaning sessions twice as long and half as effective.
This comprehensive guide will walk you through everything you need to know about restoring your vacuum's performance. We'll explore the most common reasons behind suction loss, provide step-by-step troubleshooting techniques, and share expert tips on preventing these issues from happening again. By the time you finish reading, you'll have the knowledge and confidence to tackle most vacuum problems on your own, and you'll know exactly when it's time to call a vacuum cleaner technician for professional help.
Understanding How Vacuum Cleaners Create Suction and Why It Matters
Before jumping into solutions, it helps to understand the basics of how your vacuum cleaner actually works. At its core, every vacuum relies on a simple principle: an electric motor spins a fan that creates negative pressure, pulling air and debris through the machine and trapping particles while releasing clean air back into your room. When any part of this system gets compromised, your vacuum cleaner losing suction becomes inevitable.
The suction pathway in most vacuum cleaners follows a consistent route. Air enters through the cleaning head or nozzle, travels through the hose or main body, passes through various filters, and finally exits through an exhaust vent. Along this journey, dust and debris get captured in a bag or dust container, while filters prevent fine particles from recirculating into your home. Any obstruction or inefficiency along this pathway directly impacts performance.
Modern vacuum cleaners sold in India typically operate with suction power ranging from 150 to 400 air watts, depending on the model and price point. A vacuum in perfect working condition should maintain consistent suction throughout a cleaning session. If you notice the power fluctuating or steadily decreasing, that's your appliance telling you something needs attention. Ignoring these early warning signs only leads to bigger problems down the line.
The motor itself rarely fails suddenly. Instead, when forced to work harder due to blockages or dirty filters, it gradually loses efficiency and may eventually overheat. This is why regular vacuum cleaner maintenance isn't just about cleaning performance, it's about protecting the most expensive component of your appliance. A replacement motor can cost anywhere from 2000 to 8000 rupees depending on your vacuum model, while preventive maintenance costs practically nothing.
Understanding this basic system helps you approach troubleshooting logically. When your vacuum isn't performing well, you're essentially looking for breaks or restrictions in the airflow pathway. By systematically checking each component from intake to exhaust, you can quickly identify where the problem lies and take appropriate action to restore full suction power.
The Most Common Culprits Behind Vacuum Cleaner Losing Suction
Full or Overflowing Dust Container
This might seem obvious, but it's the number one reason vacuum cleaners lose suction power. Many people forget to empty their dust bins regularly, thinking the vacuum will keep working until the container is completely full. In reality, most vacuum cleaners start losing efficiency when the dust container reaches just 50 to 60 percent capacity. The accumulated debris creates resistance that prevents new air from flowing through effectively.
Bagless models are particularly susceptible to this issue because there's no visual reminder to change anything. With bagged vacuums, you at least know it's time for a replacement when the bag is full. Experts recommend emptying bagless containers after every use or at minimum when debris reaches the marked fill line. For Indian homes where daily sweeping is common, this might mean emptying your vacuum even more frequently during heavy cleaning days.
Clogged or Dirty Filters
Filters are the unsung heroes of vacuum cleaner performance. They trap fine dust particles, allergens, and microscopic debris that would otherwise damage the motor or recirculate into your home. However, these same filters become clogged over time, creating a barrier that restricts airflow. When examining a vacuum cleaner not working properly, dirty filters are often the hidden culprit.
Most vacuum cleaners have multiple filters at different points in the airflow pathway. There's typically a pre-motor filter that protects the motor from large debris and a post-motor or HEPA filter that purifies the exhaust air. Some models have additional foam filters or washable filters. Each of these needs regular attention. Pre-motor filters generally need cleaning or replacement every one to three months, while HEPA filters might last six months to a year depending on usage and dust conditions.
In Indian households where cooking generates significant airborne particles and where construction dust is a constant reality, filters tend to clog faster than in other environments. If you live near a construction site or on a busy road, you might need to check and clean your filters twice as often as the manufacturer recommends. Many people don't realize that even washable filters eventually need replacement after 12 to 18 months of regular use.
Blockages in Hoses and Attachments
Vacuum hoses are like arteries for your cleaning system. Any blockage creates immediate suction loss. Common items that cause hose blockages include coins, small toys, pieces of paper, hair clumps, and even socks. The flexible nature of vacuum hoses means these items can get stuck in curves or joints where you can't easily see them.
Testing for hose blockages is straightforward. Detach the hose from both ends and look through it toward a light source. If you can't see light coming through clearly, there's a blockage somewhere inside. You can often dislodge obstructions by flexing the hose or using a long, thin object like a broomstick or straightened wire hanger to push the blockage out. For stubborn clogs, some people successfully use a garden hose to flush water through, though you must ensure the vacuum hose dries completely before reattaching it.
Don't forget about attachments and extension wands. The crevice tool, upholstery brush, and other accessories can harbor hidden blockages that reduce overall system performance. Make it a habit to inspect these components monthly and clear any accumulated debris.
Worn or Damaged Brush Roll
The brush roll or beater bar is the rotating component at the base of upright vacuum cleaners that agitates carpet fibers and lifts embedded dirt. Over time, these brushes wear down, reducing their effectiveness. Hair, threads, and fibers also wrap around the brush roll, preventing it from spinning freely. When the brush can't rotate properly, the vacuum loses its ability to dislodge dirt from carpets, creating the impression of suction loss even when the motor is working fine.
Inspecting your brush roll should be part of regular vacuum cleaner maintenance. Turn your vacuum upside down and examine the brush. If the bristles are worn flat or significantly shorter than when new, replacement is necessary. Most brush rolls cost between 500 and 1500 rupees depending on your vacuum model. If the brush looks fine but isn't spinning, check for wrapped debris and cut it away carefully using scissors.
Some vacuum models have belt-driven brush rolls, and these belts stretch or break over time. A broken or loose belt prevents the brush from rotating, dramatically reducing cleaning performance on carpets. Replacing a vacuum belt is usually simple and inexpensive, with most belts costing just 100 to 300 rupees. If you notice a burning rubber smell during vacuuming, that's often a sign of a slipping belt that needs immediate replacement.
Step-by-Step Troubleshooting Guide for Vacuum Cleaner Repair
When facing a vacuum cleaner issue, systematic troubleshooting saves time and prevents unnecessary repairs. Follow these steps in order, checking each component before moving to the next. This methodical approach helps you identify the exact problem rather than guessing.
Step One: Empty and Clean the Dust Container
Start with the simplest solution. Empty your dust container completely, even if it doesn't look full. Tap it against the inside of a garbage bag to dislodge compacted debris. For bagless models, remove the container and wash it with mild soap and water if your manual permits. Let it dry thoroughly before reinstalling, as moisture can damage internal components.
Step Two: Inspect and Clean All Filters
Locate every filter in your vacuum system. Consult your user manual if you're unsure where they are. Remove each filter and inspect it under good lighting. If the filter looks gray or clogged with dust, it needs attention. Washable filters should be rinsed under running water until the water runs clear, then left to air dry for at least 24 hours. Non-washable filters should be gently tapped to remove loose dust or replaced if heavily soiled.
Step Three: Check for Hose Blockages
Disconnect the hose from your vacuum and perform a visual inspection. Shine a flashlight through one end while looking through the other. If you spot a blockage, try to dislodge it by flexing the hose or pushing it through with a suitable tool. Check both the main hose and any extension tubes. Don't forget the connection points where hoses attach to the vacuum body, as debris often accumulates there.
Step Four: Examine the Brush Roll and Belt
Flip your vacuum over and inspect the brush roll area. Remove any tangled hair, threads, or debris wrapped around the brush. Check if the brush spins freely by hand. If it doesn't, investigate what's preventing rotation. If your vacuum has a belt, inspect it for signs of wear, stretching, or breakage. Replace if necessary following your manufacturer's instructions.
Step Five: Test Suction at Different Points
Turn on your vacuum and place your hand over the main intake opening. You should feel strong suction pulling against your palm. If suction is weak here, the problem likely lies with the motor or internal components. If suction is strong at the intake but weak at the cleaning head, the issue is probably in the hose, attachments, or brush assembly.
Step Six: Clean the Exhaust Filter and Vents
Exhaust filters and vents can become clogged with fine dust that bypasses other filtration. Locate your vacuum's exhaust area and clean any accessible filters or grills. Use a soft brush or compressed air to clear dust buildup. Blocked exhaust can cause the motor to overheat and trigger automatic shutoffs, making it seem like your vacuum isn't working properly.
Comparing Repair Options: DIY versus Professional Service
When you've tried basic troubleshooting but your vacuum cleaner losing suction persists, you face a decision: attempt more advanced repairs yourself or contact a professional. Understanding the costs and benefits of each approach helps you make the right choice for your situation.
| Repair Type | DIY Cost | Professional Cost | Time Required | Difficulty Level |
|---|---|---|---|---|
| Filter cleaning/replacement | 200-800 rupees | 500-1200 rupees | 15-30 minutes | Easy |
| Hose blockage removal | 0 rupees (DIY only) | 300-600 rupees | 20-40 minutes | Easy |
| Brush roll replacement | 500-1500 rupees | 800-2000 rupees | 30-60 minutes | Moderate |
| Belt replacement | 100-300 rupees | 400-800 rupees | 20-40 minutes | Moderate |
| Motor issues | Variable | 2000-8000 rupees | N/A | Difficult |
| Complete servicing | 500-1000 rupees | 1000-2500 rupees | 2-3 hours | Varies |
For simple maintenance tasks like filter cleaning or removing visible blockages, DIY repairs make perfect sense. You save money and time while learning more about your appliance. However, motor problems, electrical issues, or situations where you can't identify the cause warrant professional Vacuum cleaner Repair Service. Attempting complex repairs without proper knowledge risks causing additional damage that increases repair costs.
Professional vacuum cleaner technician services offer several advantages beyond just fixing the immediate problem. Experienced technicians can spot developing issues before they become serious, recommend preventive measures specific to your usage patterns, and ensure repairs meet safety standards. In cities across India, authorized service centers and independent repair professionals offer competitive rates, with basic servicing typically ranging from 500 to 1500 rupees depending on your location and vacuum brand.
Preventing Future Suction Problems Through Proper Vacuum Cleaner Maintenance
The saying "prevention is better than cure" applies perfectly to vacuum cleaners. Implementing a regular maintenance routine keeps your appliance performing optimally and prevents most common causes of suction loss. These habits take minimal time but deliver maximum protection for your investment.
Establish a post-use cleaning routine. After each vacuuming session, empty the dust container before it reaches half full. Quickly check the brush roll for any tangled hair or debris. This two-minute habit prevents gradual buildup that leads to bigger problems. Once a month, perform deeper maintenance including filter cleaning, hose inspection, and attachment cleaning.
Store your vacuum properly in a dry, dust-free area. Moisture and humidity can damage electrical components and promote mold growth in filters and dust containers. If you live in humid regions like coastal areas of Mumbai, Chennai, or Kolkata, ensure your vacuum's storage area has adequate ventilation. Never store the vacuum with a wet filter or damp dust container.
Use your vacuum appropriately for different surfaces. Many people try to vacuum up items their machine wasn't designed to handle, like large debris, liquids, or fine construction dust without proper filtration. These practices strain the motor and clog internal components. If you've recently had renovation work done in your home, consider using a specialized shop vacuum for initial cleanup rather than your household vacuum.
Replace consumable parts on schedule. Filters, belts, and brush rolls have expected lifespans. Replacing them proactively costs less than dealing with motor damage caused by overcompensating for worn parts. Keep a record of when you last replaced major components and set reminders for future replacements based on manufacturer recommendations.
Avoid vacuuming certain materials that commonly cause problems. These include larger screws or nails, wet debris, fine powder like flour or baking soda in large quantities, and still-burning ash or cigarette butts. Each of these can damage internal components or create safety hazards.
Learn more about maintaining your vacuum's peak performance by exploring our comprehensive troubleshooting guide. Discover how simple maintenance steps—from filter cleaning to checking hose blockages—can restore your appliance's suction power and extend its lifespan, saving you money on repairs or replacements while keeping your home spotlessly clean. Don't forget to follow Instagram for more expert tips and updates on appliance care.